How to Use Layers in Photoshop?

We cannot do anything without layers in Photoshop, the base of Photoshop starts with a layer, although the layer only acts as a navigator, it is also very important. We have to add all our photos and FX Effects on the layer, only then we are able to edit the photo well.
Today I will try to tell you everything about How to use layers in Photoshop, if still anything remains, then you can ask by commenting. There is a lot to tell about Layer which cannot be completed in mariogame.net this post but I will try to tell as much as I can.
How to use layers in Photoshop?

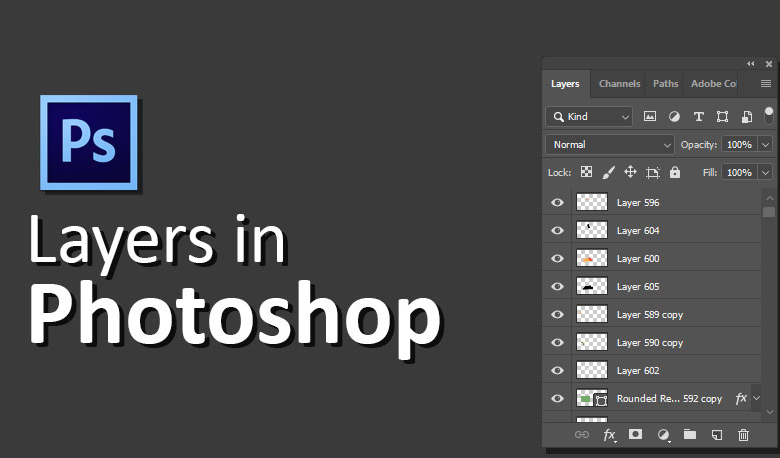
First of all open Photoshop and open any photo by pressing Shortcut Key “CTRL+O”. Now you have your photo in front of you and on the right side there is a section of layer. This photo has 1 layer and 2 is the section of the whole layer.

Here is the complete information about the layer, you will know almost everything in these 12 points.
- This option works as an On/Off button, along with it is use to turn on/off the options that are there.
- Opacity This works to show and hide the layer, if it is 100% then the layer will look complete. If you keep working with 100%, the layer will become less visible.
- To lock this option layer, after locking a layer, you will not be able to work on that layer.
- This option is use to match the layer to another layer, you can select the layer and change it by clicking on this option, you will know what it is use for, but for this, there should be a layer below that layer too.
- This option is to hide the layer. Click on this option to see the layer again
- By pressing the CTRL Key from the keyboard, selecting two layers in Photoshop, and clicking on this option, then both the layers will be lock and you can move the layer from both at the same time.
- With this option, you can apply effects on the layer. I will tell you about it separately, it has a lot of effects.
- In this Add Layer Mask option, you can work on the mask by applying a mask over the layer so that there will be no change above the original layer. And your work will also be complete, I will also tell you separately about this.
- By setting the color of the layer with this option. Although there are many options in it, all only for setting the color.
- This is the option of the group, when you have many layers in Photoshop. You can keep them in separate groups so that you can easily work on those layers.
- This option is used to create a new layer. By clicking on it you can create an empty and new layer.
- With this option, you can delete the layer. You can also delete the layer by right-clicking on the layer.
You can learn the best and advanced graphic design course near me from the best graphic design institute in Delhi
The special thing about the layer is that the layer that will be above will be visible first. The one which will be below, after that, we can set it up or down by holding any layer.
Some hidden options of the layer are not visible in front but are very important. As soon as you right-click on any layer. You will see all its options, some of which will be disabled. Which you can use only for any special effect But if you right-click on the layer. Then you will see all the options for the effects that you can apply on all the layers in Photoshop.
Blending Options:- Which is above No. 7 is Fx, if you click on it, then a box will open in front of you, in which there will be a list of all the effects, tick and click on the effect to be applied and set it.
Also Read: What are the Best Graphic Design Courses in Delhi for Career

Make the settings as you need and click on OK
Duplicate Layer
It is use to make another copy of any layer.

- If you select the layer which is there, then its copy will be create and if you click on New then that layer will be create in the new TAB.
- You can also copy by pressing the “CTRL + J” Key.
- Delete Layer: – By clicking on it, you can delete it by right-clicking on it.
- Convert To Smart Object: – By clicking on this option, you can make the photo a smart object, so that if you increase or decrease the size of that object, then its quality will not be reduce.
- Rasterize Layer: – It is use to make any smart object layer a normal layer.
- Disable Layer Mask: – Applying a mask to the layer with the option of No.9 above, is use to disable the same layer mask.
- Merge Down: – Used to mix the layer below a layer.
- Merge Visible:- You will get all the layers except those which you have hidden.
There are all the important options, if you want to ask anything else. If you are facing any problem, then ask by commenting.
Adobe Photoshop is the most powerful software for editing photos and you can learn adobe photoshop course very easily by looking at the use of its tools. For more such tips, you can visit our website the best Graphic Design Institute.
Today, in this post, you have given complete information about how to use layers in photoshop, so if you like this information, then definitely like and share, and if you have any questions or suggestions about it, then in the comment box below. You can ask by commenting.


