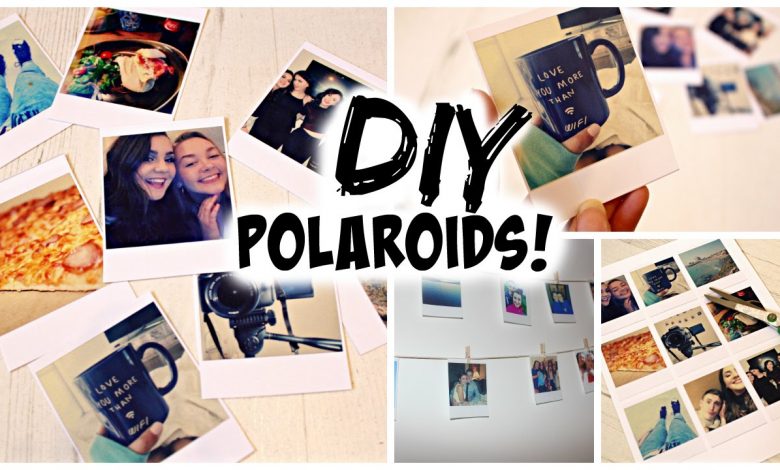
How to make the ultimate polaroid wall

There’s something magical about the polaroid shot. The captured photos develop straight away into a tangible card, bearing a white frame like a collectable trading card game. Better take more! The photos also have this ethereal quality to them. With a vintage feel and dreamy aesthetic, a moment captured on the polaroid is a moment outside of place and time. A good polaroid will capture that feeling and romanticise it.
So, you’ve been snapping up those precious moments, eternalising them with your trusty 600 series, but what do you do with all these photos? It’s not like you can Youtube to mp3 them. They should be remembered and viewed, but what’s the best way to display them? My friend, you’ve come to the right place. Here’s how to create a polaroid wall that speaks louder than the sum of its parts.
First, head round to your local arts and crafts store to pick up some wooden pegs, twine, sticky tape, and fairy lights. Next, sticky tape the twine to your wall horizontally. Don’t tape the twine as a straight line – give it some room to hang, so you get that beautiful crescent moon shape. Next, add the wooden pegs evenly across the twine. To get the spacing right, leave room for a polaroid for every peg you place.
Now, repeat this process a few inches below your first twine. It’s like learning how to tie a tie -, you’ll get faster every time. Before you know it, you’ll have a few crescent moon rows ready for your polaroids. Feel free to add the fairy lights in and around the twine rows as you see fit. The colour doesn’t matter, but if you’re after the classic option, a gentle yellow works wonders.
Here comes the fun part – picking your polaroids. Before you hastily peg them all on, take a birds-eye look at your options. Which ones are easy to identify? Are any too dark? Do you have too many of one particular person? Essentially, make a plan before you peg. It’s normally best to opt for the clearest, brightest photos because they’ll be easy to observe and identify from afar.
Congrats! You’ve just built your first polaroid wall! Not too tricky right? With this setup, you’ll easily be able to customise as your polaroid collection grows. Add another row or switch the pegged photos around anytime you like. We hope this guide and been helpful and your polaroid memories are safe and sound.


