How To Do The Orbi Setup For Routers?

Does your current wifi router provide you enough internet speed? And even if it does, don’t you want faster internet speed? Well, you might be getting a fairly good internet speed, which may be enough for you. But we want to tell you that you can get the fastest or one of the fastest internet speeds under the same or cheaper price you paid for your current wifi router.
To get one of the fastest internet speeds, all you need to do is replace your current router with the Orbi WiFi Systems. The Orbi routers will provide you with faster and powerful internet service.
In this guide, you will find the easiest ways to do the Orbi Setup of your Orbi router. The setup process of Orbi routers can be intimidating to some users. Therefore we created this guide to make things easy for them.
The setup process of Orbi routers is divided into three major parts for your convenience. So let’s begin.
The 3 Major steps to do the Orbi Router Setup
The setup process of Orbi routers is very easy and flexible. You can use any device to set up your Orbi router, such as iOS devices, Android devices. You can even do the setup using the web browser of your personal computer. However, you need to connect the PC with your home WiFi network first to do the setup. And then, you can use this guide to complete the rest of the setup process.
There is also an option to set up the Orbi routers using the official Orbi app.
But we personally recommend the browser method as it is easy and fast. So please use the following information to do the Orbi router setup.
First, you have to set up the Main Router
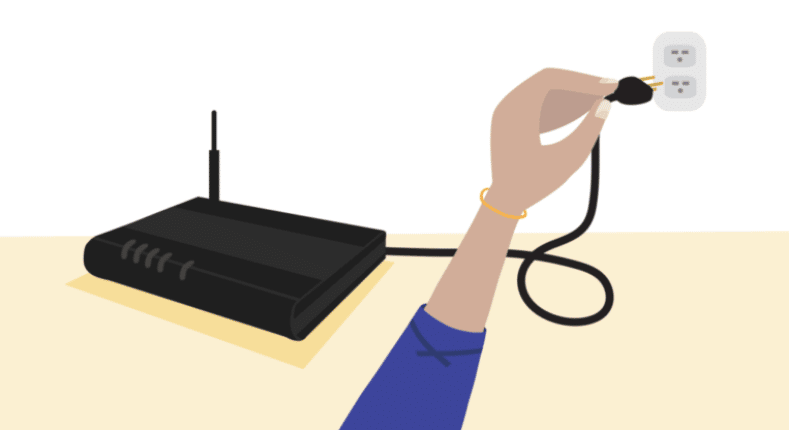
- To set up the main router, you first have to unplug your modem from the power source. Then wait for a minimum 30 seconds and plug it back into the power outlet. This step will reset your router. Thus you will get a fresh IP address, which will further make the setup process easy for you.
- Now, you need to take the Ethernet cable and connect its one end to the modem and the remaining end to the Ethernet port of the Orbi router. If you are not sure, the yellow port is the Ethernet port. And you will find the Yellow port only on the routers but not on the satellites.
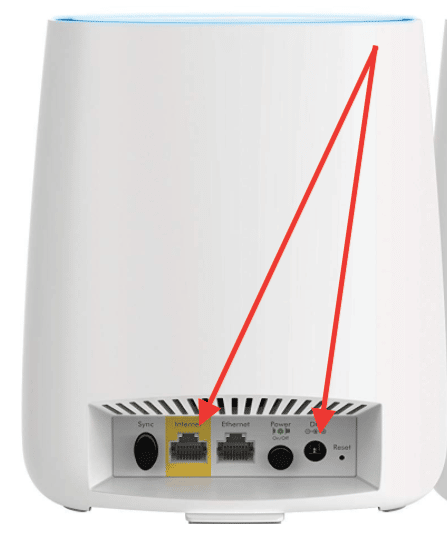
- Next, you need to power on the main router by connecting the power adapter of the power cable to the power source. You will find the power cable and adapter inside the packaging.
- Now turn on your router by pressing the power button.
- Then you also need to press the power button given on the backside of the router. Once you press the power button, you will see the green flashlights turning on.
- And you will see the router’s white LEDs blinking once the router properly turns on.
Second, you have to set up the satellite
So in this step, we will walk you through the information for installing the satellite. But we suggest you place the satellite around the central location of your home, so you get faster and reliable internet connectivity all over your home:
- So firstly, you need to connect the satellite’s power adapter to the power outlet. Then press on its power switch and power on the satellite.
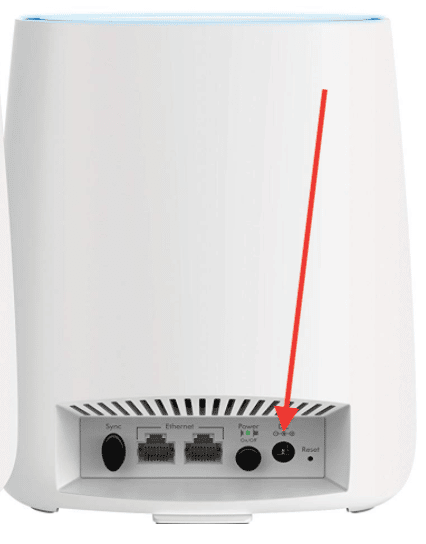
- You also need to press the power switch given on the back panel of your satellite.
- Once you press the power button, you will see the green light flashing on your satellite.
- Next, the satellite’s LEDs will turn white.
- Now you will see three different LEDs flashing on your satellite for the first three minutes. Each LED color indicates the following things:
- The Solid Blue LED indicates that your Router is successfully synced.
- The Amber or Orange LED indicates that your router and satellite are synced with a fair connection. The Amber light also indicates that you need to take your satellite a bit closer to your router.
- And if you see the Magenta or Pinkish Purple light blinking on the router means the syncing process has failed. Thus your satellite is not synced with your router.
And if you want to know about the LEDs in more detail, then you could check the user manual that comes with your router and satellite.
And lastly, The Orbi Setup for WiFi Routers
So as we stated earlier, there are two different methods to do the Orbi Router setup. One of the methods is the setup through the Orbi app. If you want to use the app, you can download it from the Apple app store for iOS devices and Playstore if you have an Android device.
However, if you are using your PC, then the other method suits you the best. You need to use your computer’s web browser to do the setup. Follow the following steps for the setup:
- So, firstly open the Web browser, or the app if you are using one, on your device. Also, please ensure the device you are using to do the setup is connected to the Orbi Network.
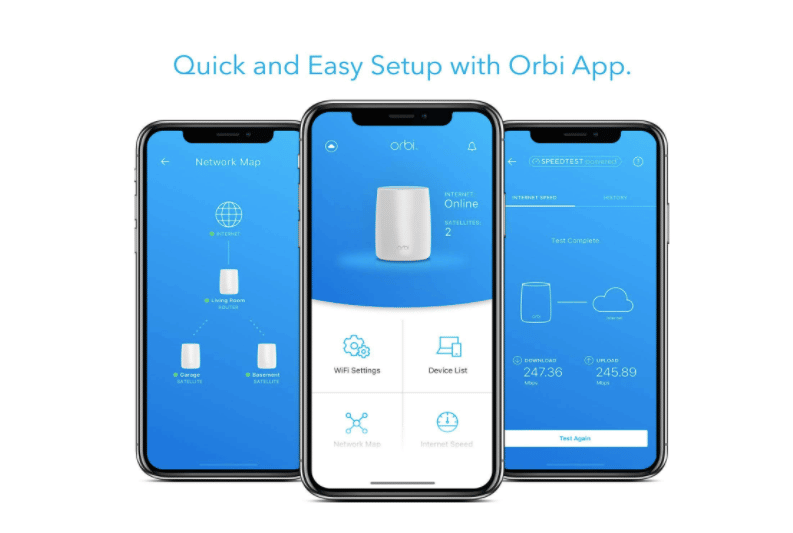
- Then search for the URL orbilogin.com in the search bar of your web browser. Thus you will land on a login window page. Or simply open the Orbi app on your phone.
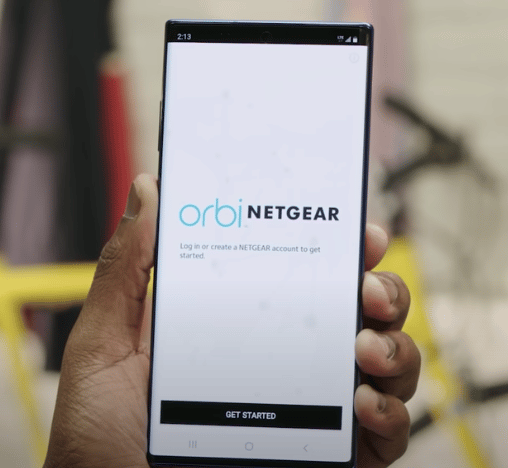
- Now you need to fill in your router’s login credentials in the respective section. If you don’t have an account, then you can create one. And if you are logging in for the first time, you can use the following default login credentials:
- The default username is
- And the default Password will be the one you used while setting up the router.
- Next, you need to select the QR code Then scan the code placed at the back panel of the router. This way, you can easily set up and configure your router.
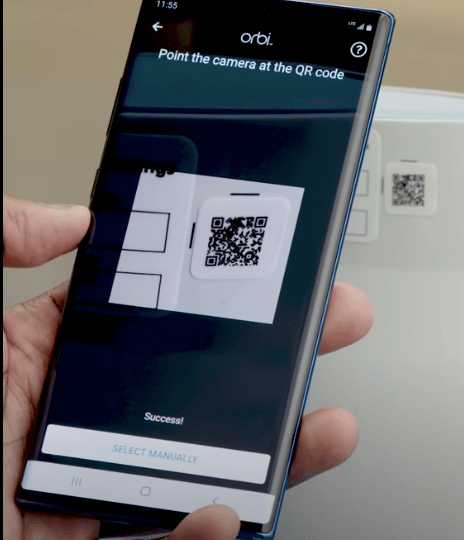
- Then, you need to follow and perform the On-screen instructions. Also, you need to specify the area in which your satellite is placed.
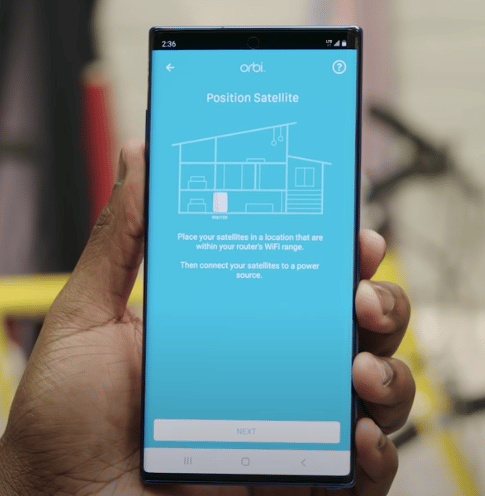
Also, keep checking that the Orbi Router is getting the proper power supply. In case you find the power button off, power it on to establish the connection. There is also an option on the app to specify the satellite’s location for configuring the router.
- Then tap on the Next button and perform the given on-screen instructions. Once the router is set up, you need to wait for at least 3 minutes until the satellite lights turn white.
- Once the LEDs turn white, you need to sync the satellite and the router by pressing the sync button. If you are using the app, it will automatically detect the satellite connection with your main router. You need to press the Add Satellite option to sync the new satellites with the router.
And please don’t turn off your router while doing the setup process. Even if you accidentally turn off your main router, you may have to repeat the whole process to complete the setup.
Closure
You may find the Orbi Setup process a bit complex. But you won’t feel the same if you follow the instructions given in this guide. The above given are the easiest steps to set up the Orbi router. It is also the quickest way to do the setup. And in case you find any complexity, you can use the user manual that comes along with the router packing. Or you can also connect the Netgear Orbi Customer support to get more support.


