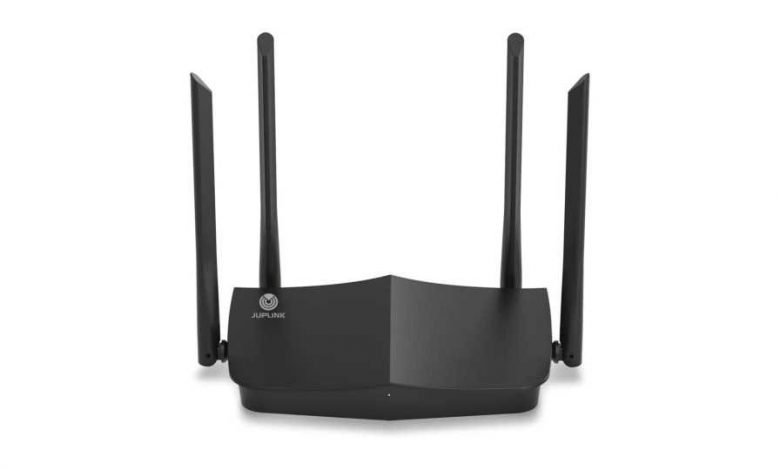
How to Set the Security System on the Juplink WiFi Mesh Router?

The Juplink WiFi Mesh Router is the latest wifi router with six wifi technologies. It is a dual-band router fully equipped with five Gigabit Ethernet ports. With the Juplink mesh router, you get four times greater high efficiency in the capability of your device. Moreover, the router comes with one Gigabit WAN port and four Gigabit LAN ports which enables 1.8 GHz of a quad-core processor. Along with that, it also ensures that you enjoy a fast and stable network connection with its 15 watts power supply. It offers you smart wifi mesh control with its fast connecting app.
The Juplink wifi router is able to work with a wifi mesh network which has the ability to cover the whole house with just one tap. Moreover, the device supports wired or wireless network devices which can be automatically connected. You have to use an ethernet cable for wired connection. You can switch to any operating band to get the best wireless performance.
Simply Secure the system of the Juplink WiFi Mesh Router
To secure the Juplink router setup you can create a personalized wifi network for the whole family. The security system ensures that you get appropriate internet access for every member of the family. To enhance the security of your wifi network, you can enable parental control, it helps to keep your network connection secure in the WAN access control. Let’s secure the system without any delay.
Enable WAN Control
Simply enable the WAN access control to secure the system of the wireless router. Either you can block or allow a specific URL to access the network connection whether wired or wireless. It shows a list of the blocked or unblocked devices, you can also say blacklisted or whitelisted devices. So first you need to log into the router with your relevant credential details. When you are prompted to the home page of the Juplink wifi router the click on the security section and then tap on the WAN access control. Hence you can tap on the blacklist which recommends you modify your system.
Afterward, fill in the URL address which you want to block or allow to get access to your internet service and click on the add button. If you want to restrict or block the user then you might click on the delete option.
Enable Parental control
If you wish to enable parental control then you can enable it. In which you are simply allowed to restrict the internet connection for some members of the family. Moreover, you are allowed to set the limits on the use of the internet connection or the daily limits for the total time spent online. After the Juplink wifi router setup, log into the admin account and then click on the status button and then tap on the LAN device. Afterward, click on the security option and then enable parental control. In which you have to select an appropriate date or time and then click on the apply button to save the settings.
Enabling wireless filters
In the wireless filters, you can simply allow or deny the use of internet access to any client user with a specified MAC address. For that, log in to the device and then tap on the status button and then click on the LAN device. Then again go to the security section and click on the wireless filter option. Tap on the MAC address which allows you to restrict anyone then click on the save or apply button.
This is how you can make your wireless network more secure to use.
How to enable the VPN server into the Juplink WiFi Mesh Router?
After complete the setup of the Juplink router , you can activate virtual private networking (VPN) which allows you to enjoy a safe home networking connection. It is all over safe and secure whether you are inside or outside the house. It acts as a protective shield that can protect from any kind of virtual damage to the network system. Moreover the wireless router offers two simple ways to set up. The first one is L2TP internet connection mode and the second is L2TP VPN to Access Your Home Network connection.
Once you logged into your administrator account, then click on the network settings and then tap on the VPN connection. Afterward, fill in the necessary required information about the device and click on the add option. You can add the tunnel name, LNS address, LNS username, LNS password, Des IP address, and Dest netmask of the device.


